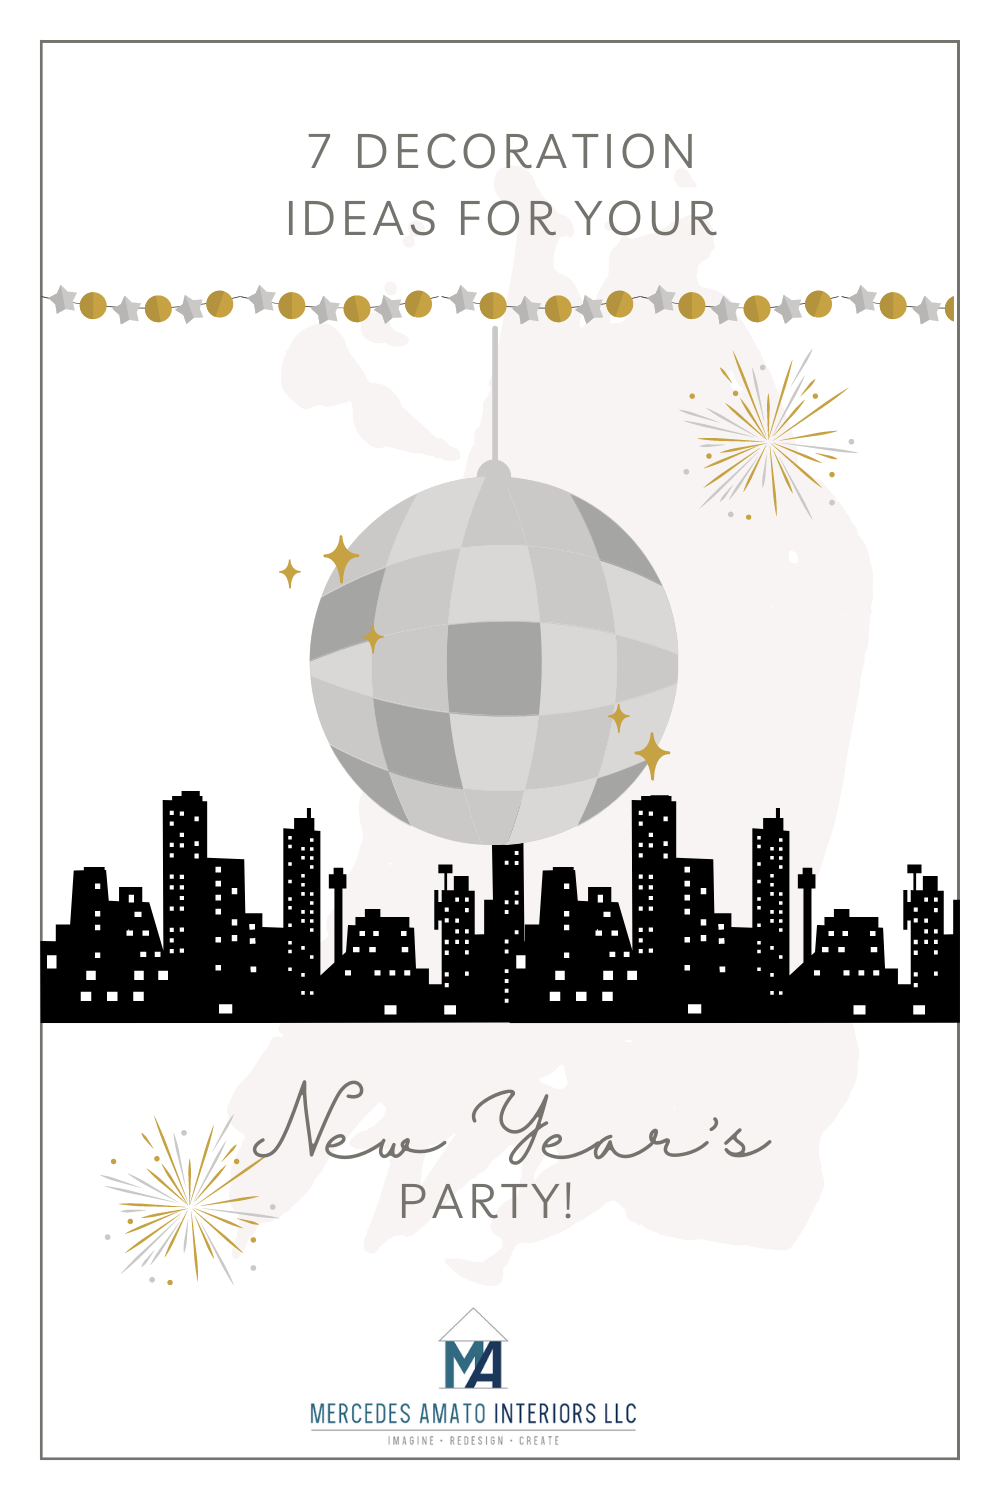
Hello Design Lovers!
As 2020 comes to an end (thank God, ammiright?), it’s time we begin to think about ringing in the New Year! Although this year we will be celebrating a little differently as far as socially distancing, masking it up, and most likely staying at home FaceTiming family and friends, it doesn’t mean we can’t celebrate saying goodbye to 2020 in style! SEE YA 👋🏼.
Let’s try to make 2021 a MUCH better year and make it as “normal” as possible. If you’re feeling crafty or would much rather support a small business, either way it’s time to start thinking about New Year’s decorations! I’ve rounded up some DIY decorations as well as some great small businesses you can support to make your small (socially distanced) party the best one yet!
 1.BALLOONS
No party is complete without balloons! Balloons are an absolute MUST. They just scream celebration 🎊! I’ve found a fun DIY balloon project and also found a small business on Etsy who ships the most amazing balloon arrangement that is def insta worthy 📸. So let’s dive right into our crafty side and make some fun, easy, glitter dipped balloons. Here’s everything you’ll need:
- Balloons
- Various types of glitter/sequins
- Mod Podge (which you can find at your local craft store)
- Foam Paint Brush
- A large tray from the dollar store
- A few large mixing bowls
My Sister’s Suitcase came up with such a fun tutorial that anyone can do without breaking the bank. Make sure you get all of the materials you need and head over to their blog for the quick, easy steps to get your glitter dipped balloons! Just click on the image below to be directed to their blog post.

If you’re looking for the coolest, most insta worthy backdrop for your party, then you have to check out Fancy Floaters’ Etsy Shop. They have the coolest champagne balloon garland kit that requires a little bit of time to build, but is so totally worth it! Keep in mind: you will need to rent a helium tank (if you want the balloons to float) or an air pump. I wouldn’t recommend blowing up each balloon by yourself since it does take time and ya know…COVID. Tell me this is not the coolest focal point/backdrop for New Years! And for just $30!
 2.BLACK & GOLD CHARGERS
Idk about you, but nothing screams New Years like a good ol’ black and gold ensemble. How about some black and gold chargers for your guests?? No one wants to bring out their fine china or their everyday chargers that don’t scream “this is a New Years party!” so why not just support a small business and buy some festive chargers?! They’re perfect for the occasion. Just grab some of those “fancy” plastic disposable plates and you’re all set!
 3.GLITTER DIPPED CHAMPAGNE BOTTLES
What’s great about DIY projects, is when you have enough material to use for another project! So you’re gonna wanna bring out your Mod Podge, foam brush, and glitter again for this project. Grab a couple bottles of your favorite champagne, a large tray so the glitter can fall into it and let’s get crafty!
 Credit: Kit Kraft
Consider buying a few kinds of glitter for a variety of designs and styles! Use this as an opportunity to let your creative juices flow and really impress your guests. Apply Mod Podge to your bottles using your foam brush. Make sure to apply a thin, even coat. Next, over your large tray, sprinkle the glitter onto the bottle and rotate it to get an even distribution.
Creative Tip: if you want to create layers of different sized or colored glitter, simply apply layers of Mod Podge to your bottle and sprinkle each layer as you go along. This can also be fun for a cool ombre look!

Foam Brush 
For a more glittery bottle, simply wait for the first coat of glitter to dry before going back and doing the same process again. For the second coat, you might want to dab the sponge onto the bottle so that you don’t take much glitter off the first coat. For a finishing touch, add a bow around the neck of the bottle!
4.CONFETTI POPPERS
Don’t you just love when the clock strikes midnight and everyone cheers?! There’s just something about it…it’s a true celebration and we’re all eager to leave 2020 behind and never talk about it again! New Years wouldn’t be the same without a little confetti so lets’ support a small business in the meantime. EnFete’s Etsy Shop has the cutest confetti poppers for your little get together this year. Choose from custom colors for your confetti or stick with black and gold. Aren’t they just the cutest confetti poppers?
 5.DIY MIRROR BALL
Nothing says NYE like having the ball drop. And although this DIY mirror ball won’t be dropping in your living room, it’s the idea behind it. For this DIY project, you will need some patience and materials of course. Here’s what you will need:
- Foam Ball (go to your local craft store)
- A screw eye hook (to hang from your ceiling)
- Hot glue gun
- Square mirror tiles
Scissors
 Photo Credit: The Crafted Sparrow
If you plan on hanging your NYE ball, begin by placing the hook on top of the foam ball. Make sure it’s nice and tight in the foam so it doesn’t become loose. For an extra hold, squeeze some hot glue into the “pre-drilled” hole at the top. And by pre-drilled I mean just using the hook to manually make a hole.
Next, begin by adding the mirrored tiles to the ball. Begin at the top where you placed your hook and work your way down and around the ball. Place a small dot of hot glue onto the back of the mirror and gently press down. It’s normal to have some gaps between each of the tiles which is totally fine!
 Photo Credit: Lovely Indeed 6.CAKE TOPPERS
Whether you’re baking your own cake or pie or buying one at your local bakery, every dessert table will need a glittery cake topper! There’s just something about a beautiful cake topper that really makes the cake stand out. Plus, it’s super festive and something that adds a nice NYE touch! TimeToCelebrateNow has such cute New Year’s cake toppers that you’ll want to buy one from their Etsy Shop for every occasion! Click on the image below to be redirected to their Etsy Shop.
 7.NEW YEAR’S BINGO!
How fun would it be to play some bingo with your guests or even play a virtual game with your family and friends?! Well now you can! MintyPaperieShop has printable bingo cards in their Etsy Shop that are fun and easy to download so you can print them for NYE. Click on the image below to be redirected to MintyPaperieShop’s Etsy page!
Creative Tip: If you’re feeling a little crafty (especially after this blog post, I don’t blame you), you can create your own Bingo cards!

With this post, I hope I was able to get you all inspired and motivated to have a fun, socially distanced New Year’s. Even if you’re just throwing you and your family or roommates a party, enjoy your time together. I know this year we can’t celebrate how we actually want to celebrate but you can have fun in the comfort of your own home and jazz it up with some cool decorations. Let’s kiss 2020 good-bye and welcome in 2021 with open arms. I hope you all have a healthy, happy, and safe NYE!